Sunday, 22 September 2019

Christmas countdown project at class


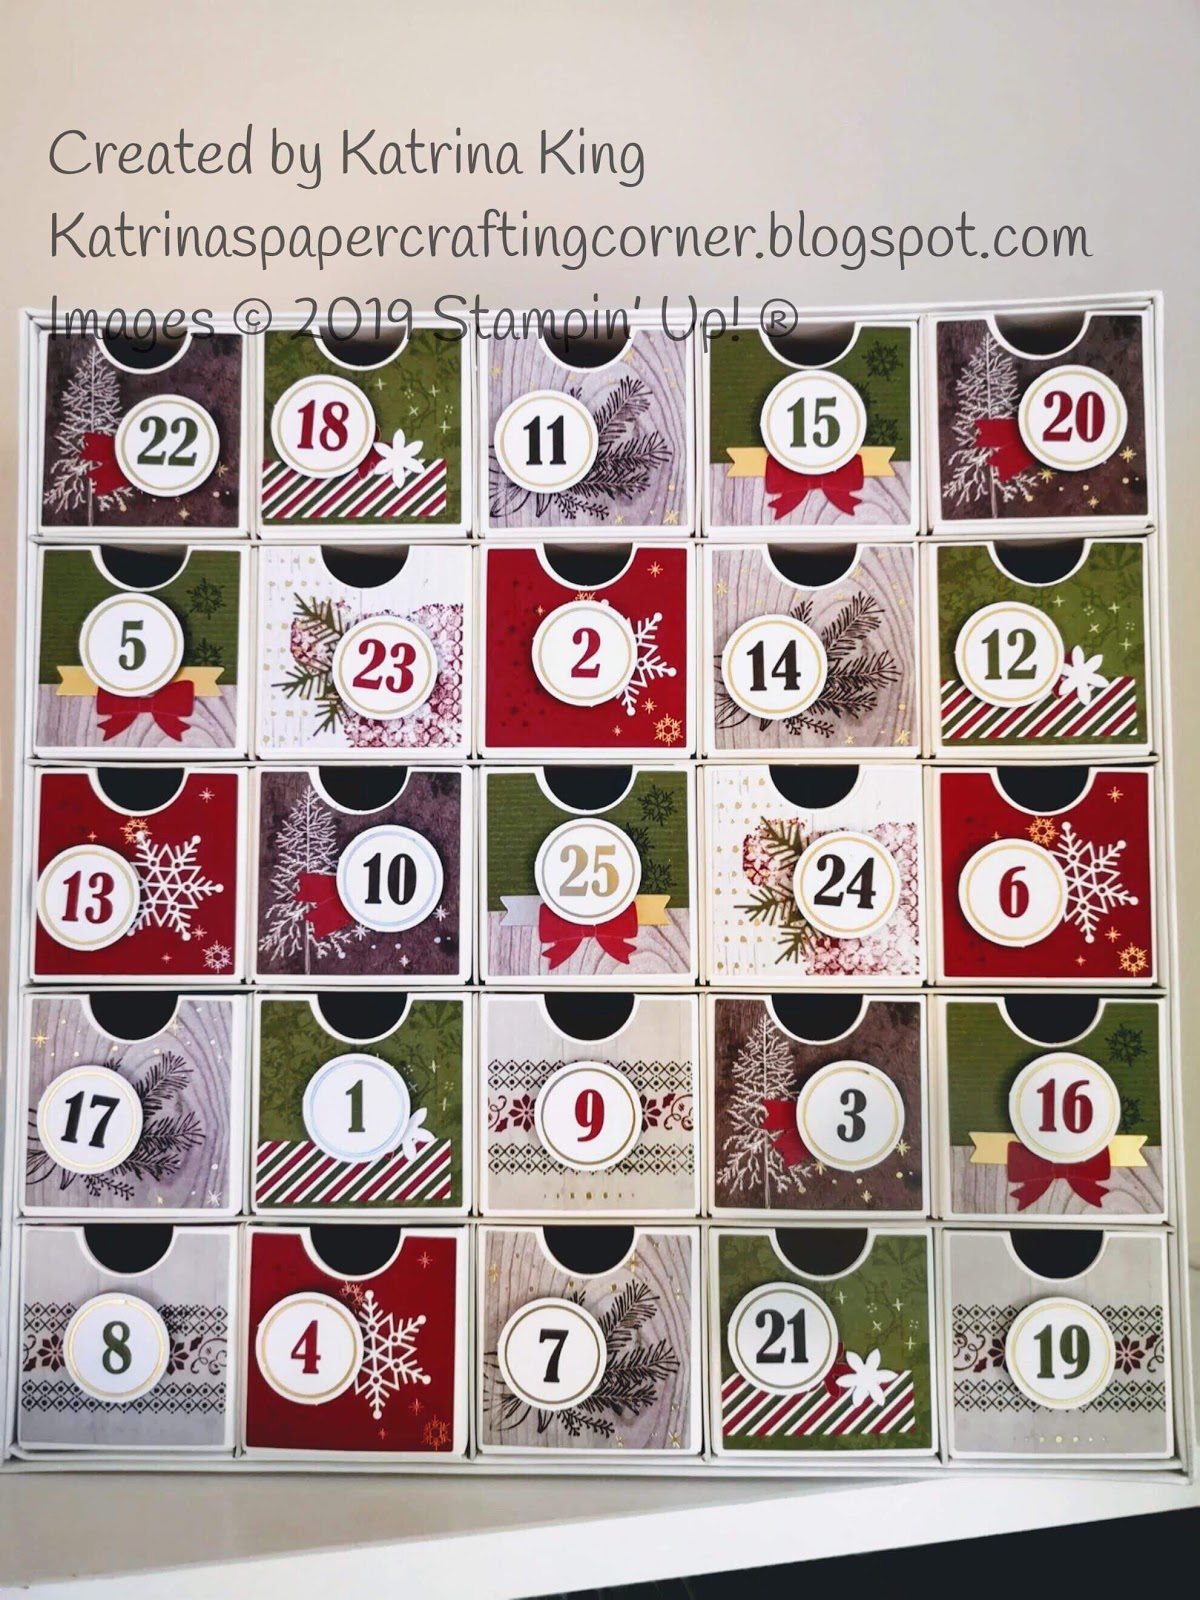
Last week at craft class we made the Coundown to Christmas project kit.
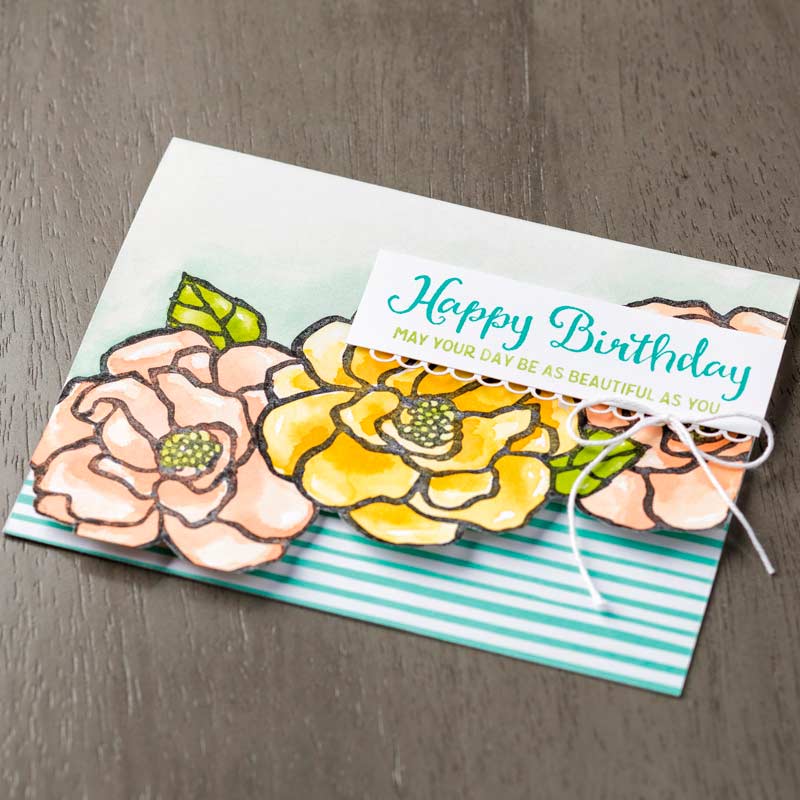
the girls loved it but i wanted to add a little more so we decorated the other side of the box to make it dual purpose. You could use any of our beautiful designer series papers but i had a pack of the Brightly  Gleaming to hand. I chose the Pretty Peacock colour in two of the papers, they just looked stunning. Some of the ladies chose the mossy meadow


 Stampin' Up also did a alternative on the facebook page ready to fill with all your Embellishments


Product List

Saturday, 21 September 2019

New blog layout

Wow!!
What do you all think to the new look Blog?
A very kind friend called Sophie Prestrelle from France sorted it all out and designed my new banner.
A wonderful kind Lady.

We met at the last team retreat in Birmingham
The picture on the right is the team together You can see me hiding at the top of the stairs

Wednesday, 19 September 2018

Team swaps from a retreat weekend

Wow what a fantastic weekend I have had crafting at team retreat. Spending time with friends is the best pick me up anyone could wish for.

When we have a craft day or weekend we all do swaps,

I thought I would share with you the swaps I made and the ones I got in return, what great inspiration you can get from others.
I would love to take a team with me next time , if you fancy joining me just contact me to find out how.

Tuesday, 22 May 2018

New catologue


Sorry I have been very quite on my blog as of late. Blogging is not my thing and I need to try a little harder haha . I tend to post of Facebook more.
But It’s that time of year again and I’m posting out annual catolgues. Would you like one ?

If so pop me an email on trina_ken@hotmail.com and I’ll get one in the post.

These are just a few samples of what you could find


Saturday, 13 January 2018

Beautiful Day Butterfly

I love sending cards !! 
This card was my swap I sent to five of a great Team of crafters. 

The theme was New Catalogue and this Stamp set is one we were gifted at Onstage in November called Beautiful Day.

Image result for beautiful day stampin up

Beautiful Day Clear-Mount Stamp Set
 Beautiful Day Clear-Mount Stamp Set
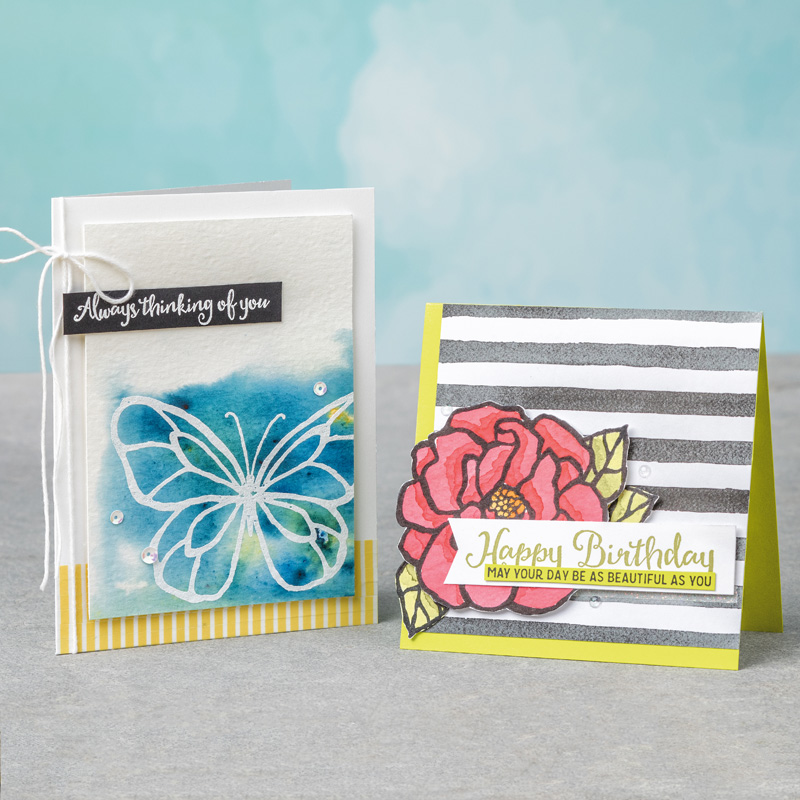
I love the solid Images of the flower and butterfly.
Instantly I thought of water colours and velum. 
I chose four stunning pinks from various colour collections , Sweet Sugarplum, Melon Mambo, Blushing Bride and Flirty Flamingo. 
The Butterfly was embossed with verso mark and white embossing power . I fussy cut this Image and used dimensionals to lift it from the card. The back ground was embossed the Always thinking of you sentiment to the Designer paper 
This paper was from the Sweet Soiree collection. and was a great match to the blushing bride card stock I used for the card.

Thank you for visiting my blog today. Please get in touch with any questions .


Product List
Saturday, 6 January 2018

Gift Box in a Card

 I have the pleasure of joining in with the Pootles Team on the Spring/Summer Catalogue Blog Hop.
This is the great opportunity of showing you lots of projects all using the new items.
  
I have chosen the Sweet Soiree Designer Series Paper for the box and layered section. This paper just might be my favourite so far.
I used two stamp sets. I wanted to use the lovely heart stamp set Heart Happiness and I chose a sentiment from the Picture Perfect Birthday which fitted just nicely.

The Card was Powder Pink and measured 5 7/8 inch  by 8 1/4 inch
A piece of the card 2 inches by 2 inches was cut away for the box.
The box is 6 x 6 and scored at 2 inches at all sides.
The lid is 3 1/8 x 3 1/8 scored at 1/2 inch on all sides and it was layered with Rich Razzleberry.
 The Embelishment was from Petal Passion Embellishments. 
I hope you liked my project and all of those from the Team.
Any questions please contact me. 

Please press the Links below to visit the rest of the Team 


Product List

Saturday, 25 November 2017

Instructions for Christmas Advent

Hi everyone
As promised this is the instructions for this lovely Advent tree I made again this year


Cherry cobbler card stock  5, 5/8  x 7 1/2  you need 25 of these

Designer Series Paper 1. 1/2  x 1. 1/2  you need 4 of these per box and 5 for the top box 

Score the long side at 1/2 , 2. 1/4 , 4,  5 3/4  
turn and score 3/8 , 2. 1/8,  3. 7/8.

Cut using the template below. keeping the full section removed for the circle behind the date.


I didn't wedge the cuts because it can very easily be over trimmed. Instead I did it as I was putting the box together, this way it wasnt going to drop open. 


 I used a half inch circle punch for the notch at the top. 
I lined up 9 boxes and stuck some ribbon on the back to secure them together using tear and tape, I used just tape last year and they all came apart. 
These can now be joined together to make your circle. 
9 on the bottom row
7 on the second
5 on the third and Christmas day on top. 
I glued these together using a hot glue gun to make it more secure. 
It was then mounted on a covered circle of card with matching cardstock.
The numbers were cut from a heart from the sweet and sassy framelits and backed onto a die from the layering circle framelits but the size these will depend on your numbers.

I hope these instructions help and I would love to see your advent when you have done one.


Product List